
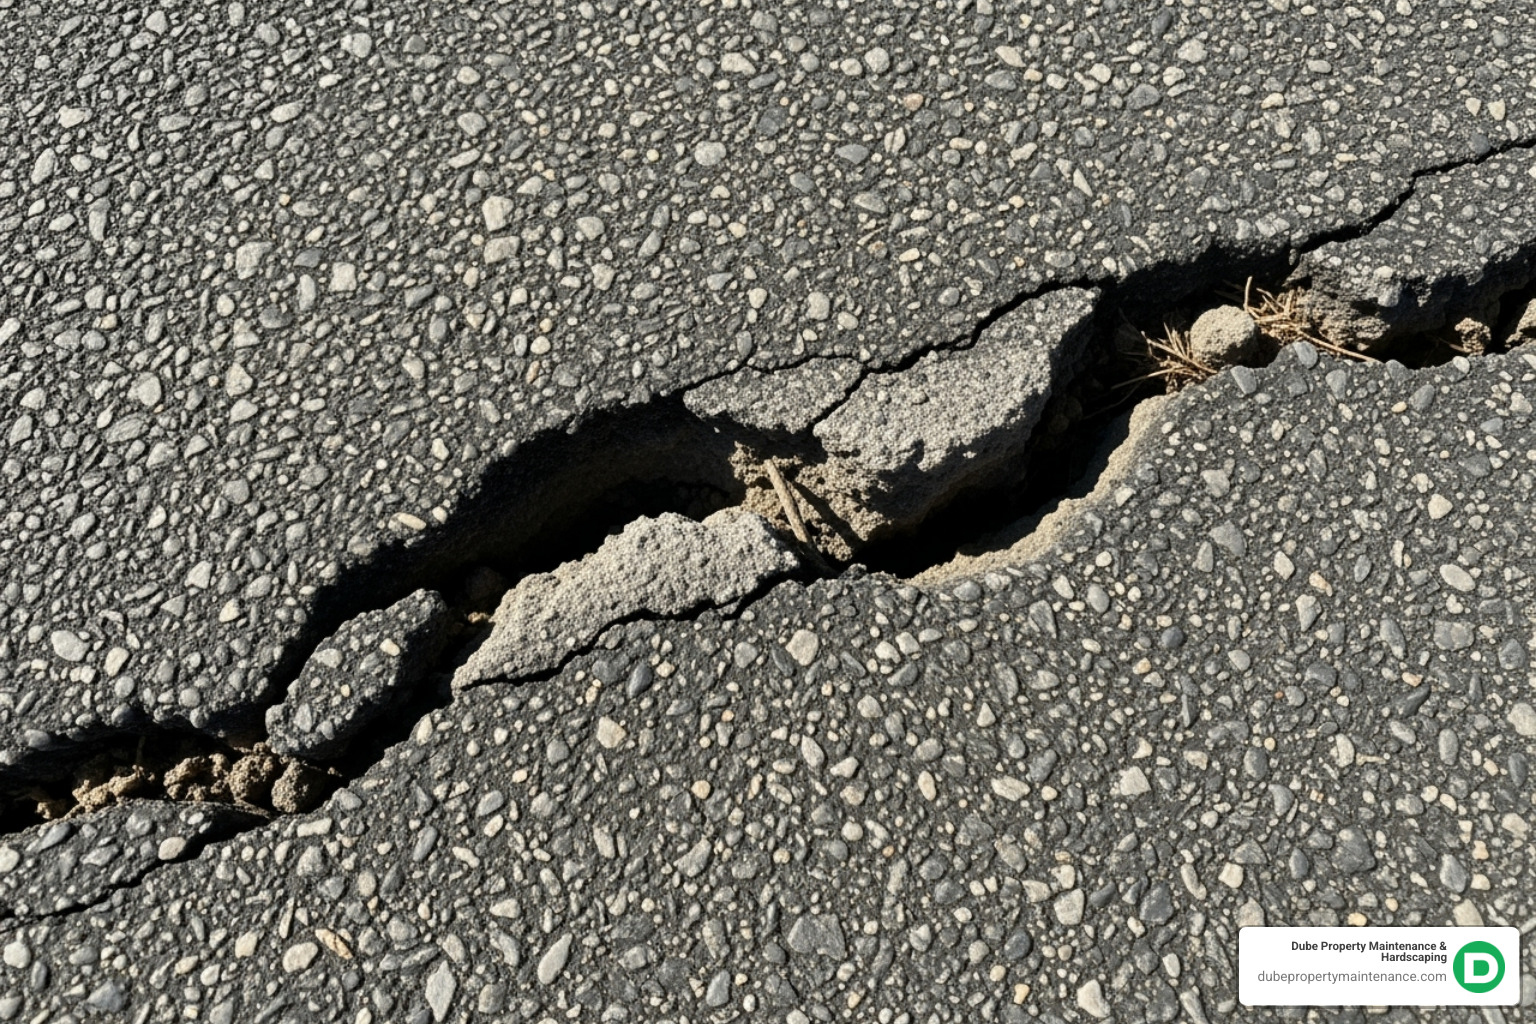
Driveway crack repair might seem like a minor cosmetic issue, but ignoring small fissures leads to expensive problems. Water seeps into cracks, freezes, and expands, widening the damage with each winter. This freeze-thaw cycle can turn a hairline crack into a pothole, leading to costly replacements.
Quick Answer: How to Repair Driveway Cracks
Catching cracks early can extend your driveway’s life by 10 to 20 years. Considering a professional replacement can cost $3,000 to $8,000 or more, a little maintenance goes a long way. A well-maintained driveway also boosts your home’s curb appeal and property value.
Best of all, most small to medium cracks are a manageable DIY project. With the right materials (costing as little as $5 to $80) and an afternoon, you can tackle repairs that would otherwise cost $500 to $1,500 for professional service. This guide will walk you through the process.
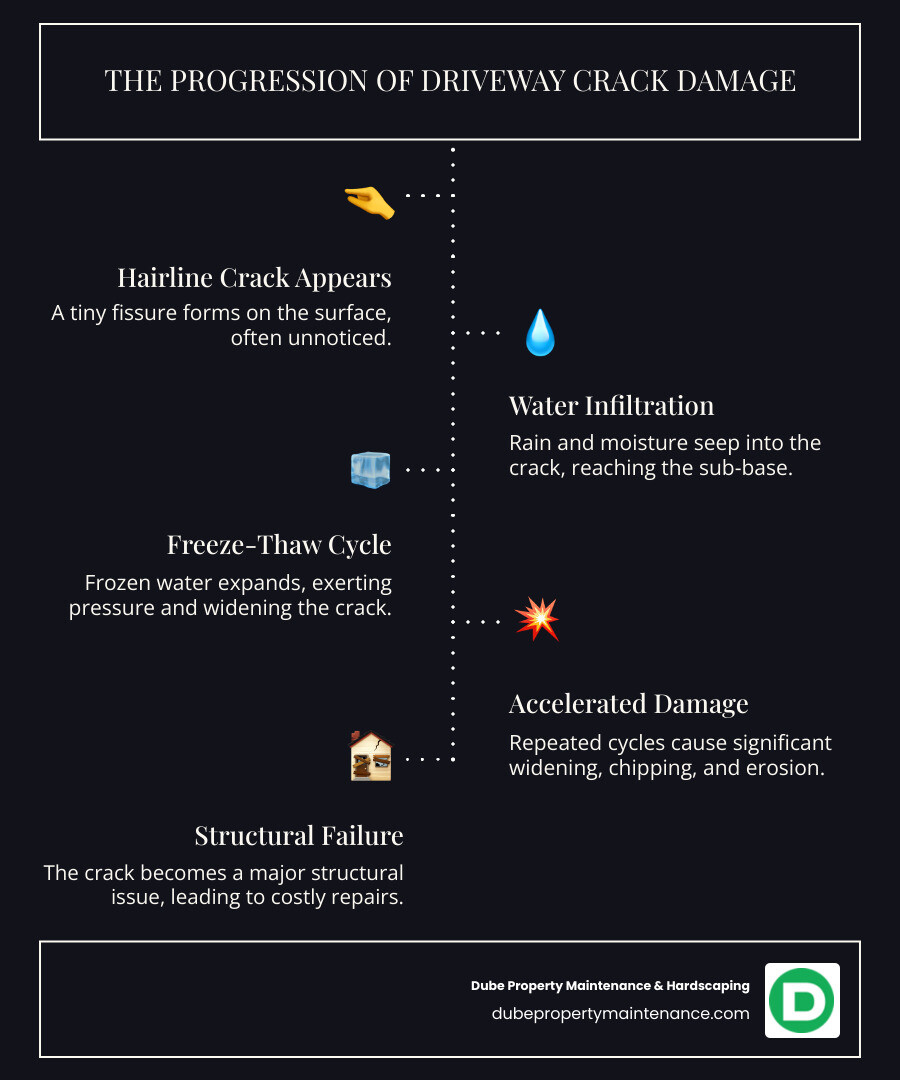
Learn more about driveway crack repair:
Understanding why concrete cracks is the first step to effective driveway crack repair. Concrete is strong but not invincible. Several factors contribute to cracking:
Not all cracks are the same. The type of crack can tell you about the underlying issue:
For more information about when replacement becomes necessary, check out our guide on Concrete Driveway Replacement.
Knowing when to fix a crack versus when to call in the pros is key.
Repair is a good option for hairline cracks, stable cracks under 1/4-inch wide, or minor surface flaking (spalling) that covers less than 25% of the driveway. These are ideal for DIY driveway crack repair.
Consider replacement or professional help for cracks wider than 1/2-inch, uneven slabs, or alligator cracking. If more than 25% of your driveway is severely damaged, it’s time for a professional assessment. Patching over serious structural issues is a temporary fix at best.
For a deeper dive into costs, visit our page on the Cost to Remove and Replace a Concrete Driveway.
Repairing cracks early is significantly cheaper than waiting.
Quick note: The following costs are average estimates based on internet data and not actual costs for Dube Property Maintenance & Hardscaping. Prices vary widely based on your location, specific materials, and how complex your project is.
The takeaway is clear: a $20 tube of sealant today can save you thousands tomorrow.
For more detailed information on professional repairs, check out our Cement Driveway Repair page.
Having the right tools and materials is half the battle for a successful driveway crack repair. Here’s what you’ll need.
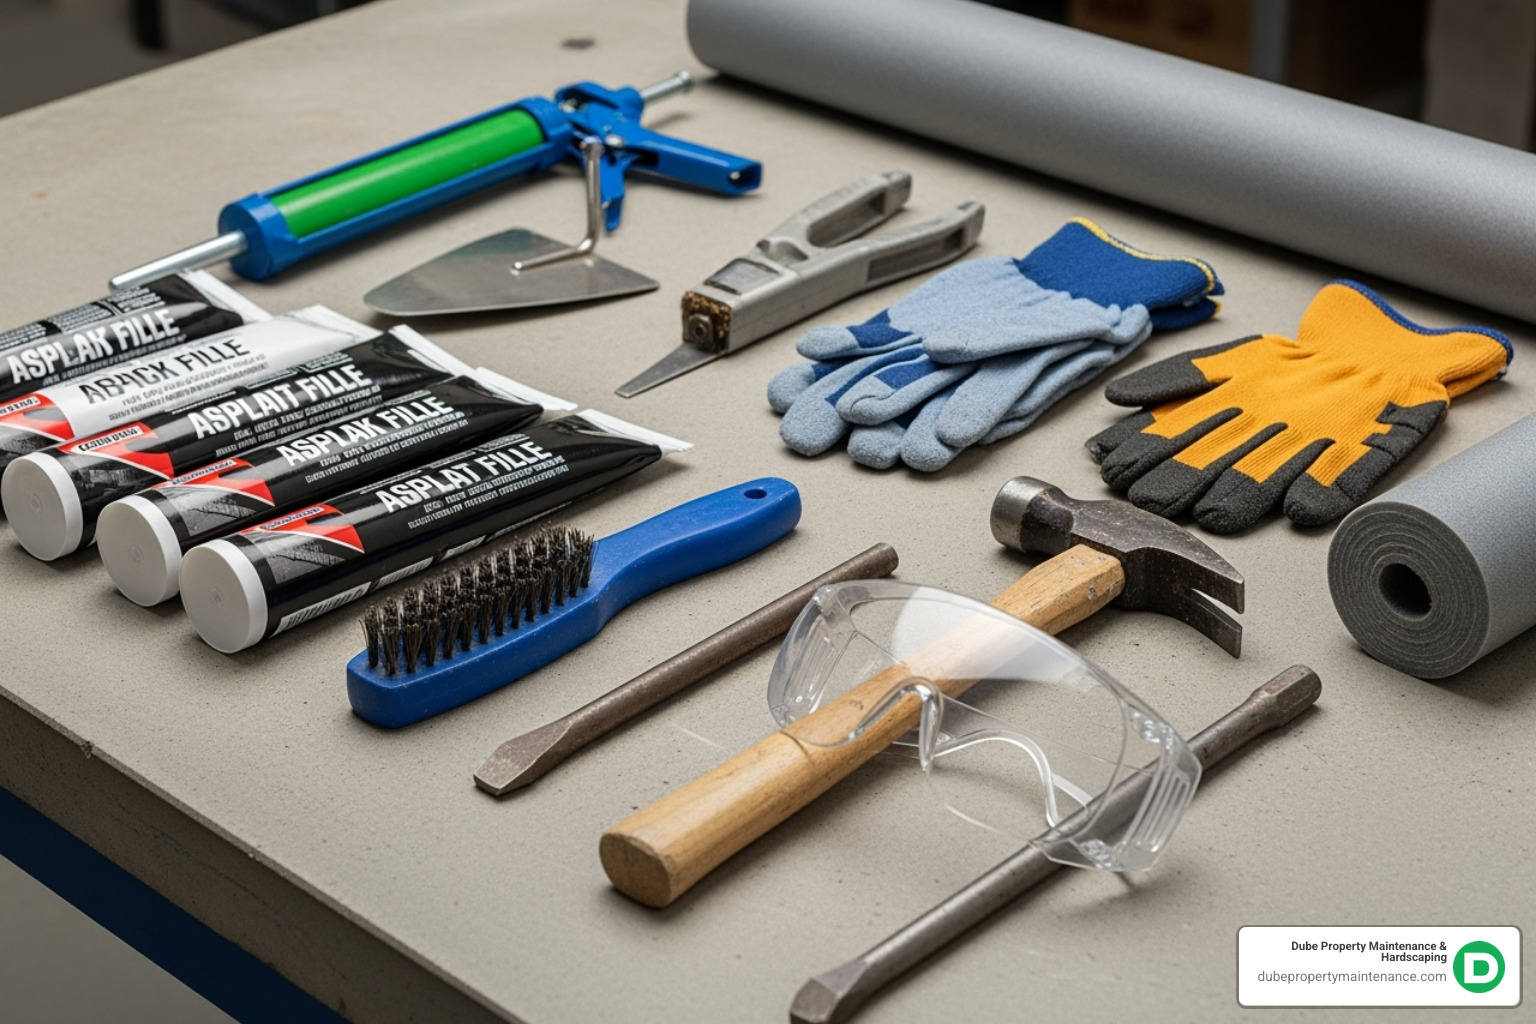
Essential Tools & Materials:
This is the most critical decision for a lasting driveway crack repair.
Always choose flexible sealants. Polyurethane-based products are designed to stretch and compress as concrete expands and contracts with temperature changes. This flexibility maintains a watertight seal and prevents water from re-entering the crack, which is the primary goal of the repair.
Avoid rigid materials like mortar, epoxy, or vinyl concrete patch. While they may seem like a durable fix, they cannot handle concrete’s natural movement. A rigid repair will inevitably crack again, often within a few months, forcing you to redo the work. Spend a few extra dollars on the correct flexible sealant to save yourself future frustration.
Once you’ve chosen a flexible sealant, you’ll find two main types.
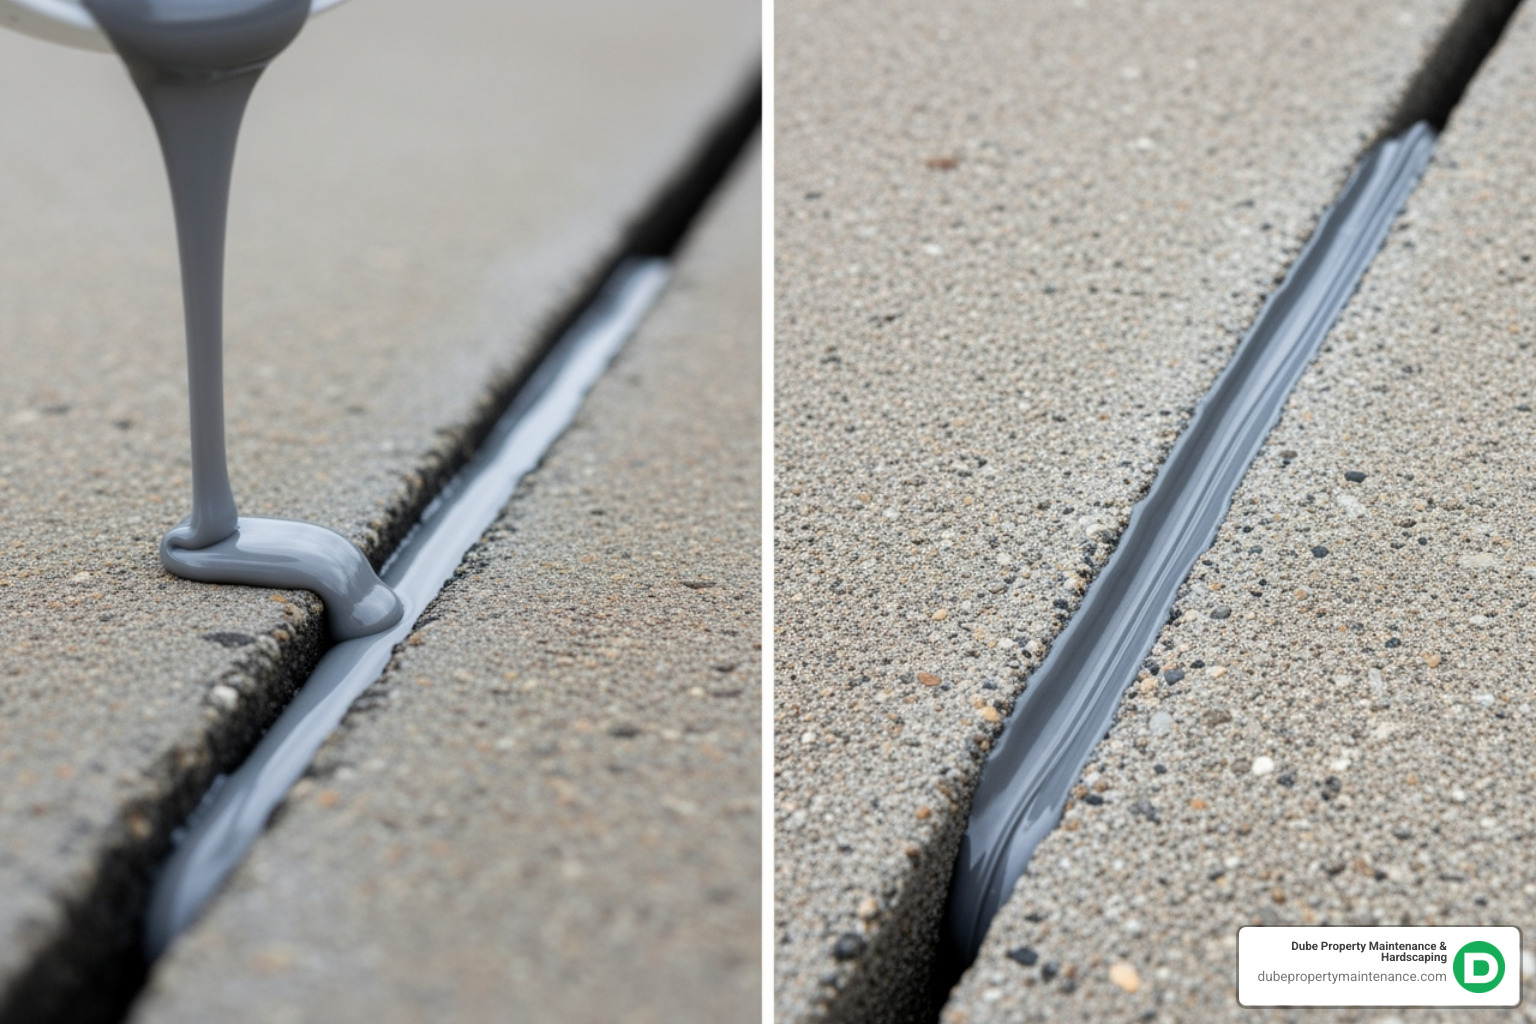
Self-leveling caulk is thin and flows easily, making it perfect for flat, horizontal surfaces. It settles on its own to create a smooth finish with minimal effort. Brands like self-leveling Sikaflex are popular for this reason.
Non-sag caulk is thicker and holds its shape, making it essential for sloped driveways or vertical surfaces where a thinner product would run out. This type requires manual tooling to achieve a smooth finish.
Before starting, check the weather. Plan your driveway crack repair for a dry day with temperatures consistently above 50°F. These conditions are essential for the sealant to cure and bond correctly.
More info about Cement Driveway Repair.
Proper preparation is critical for a repair that lasts. Do not rush this step.
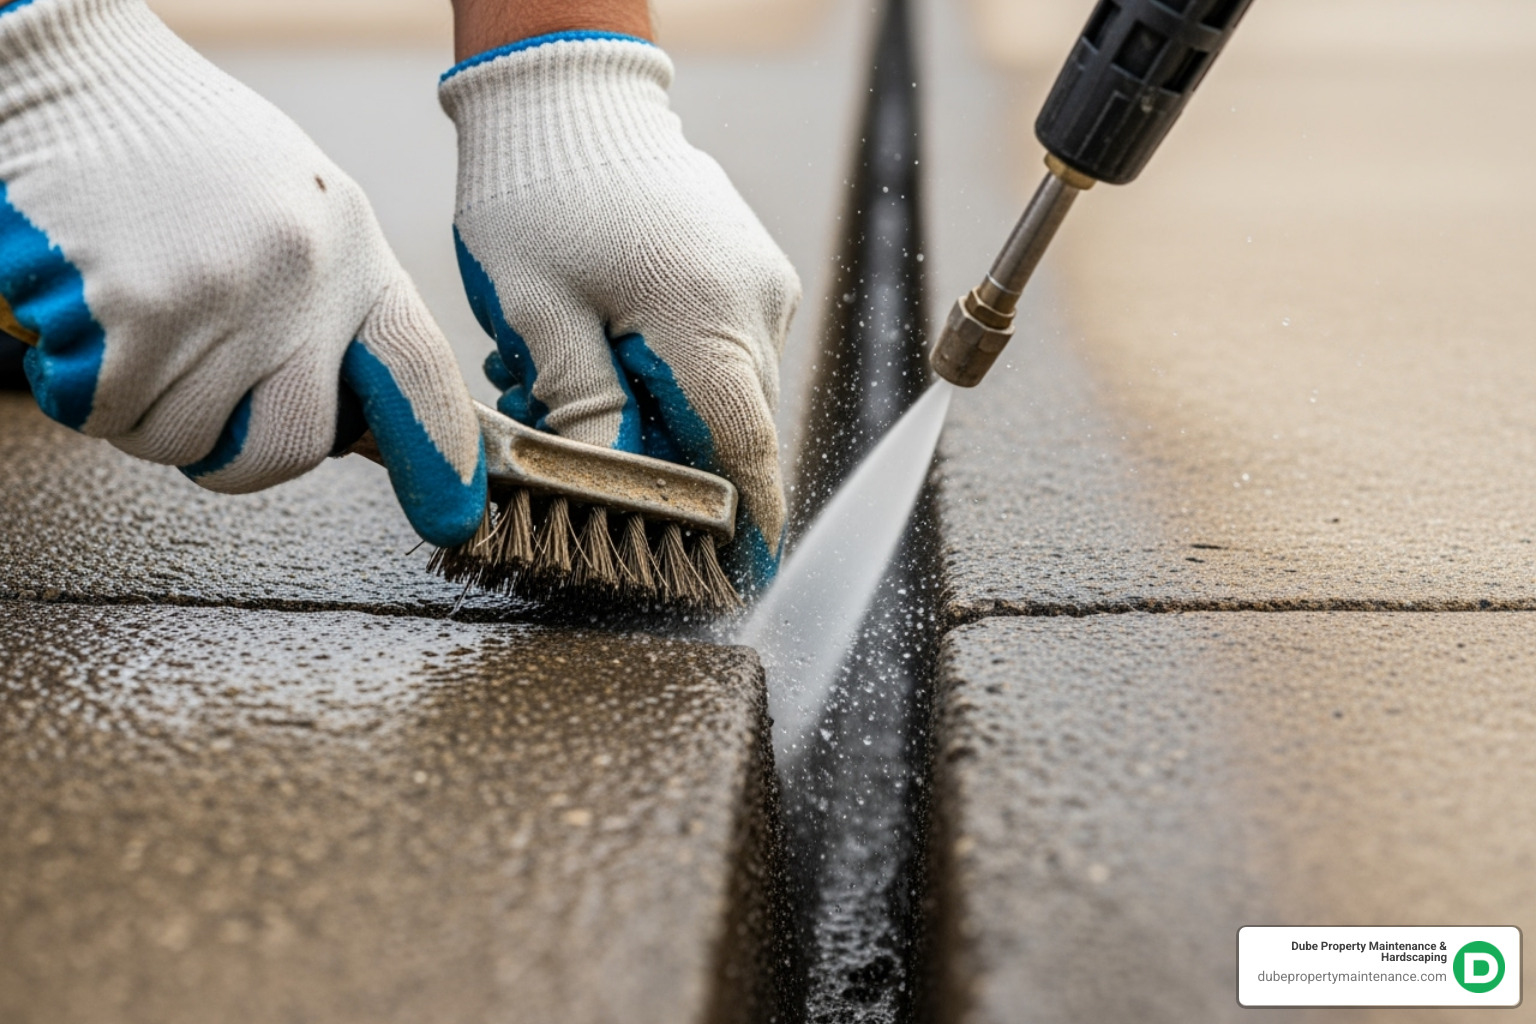
First, use a wire brush and putty knife to remove all loose debris, including dirt, old filler, and weeds. Next, use a pressure washer or strong hose nozzle to flush out the crack completely, removing fine dust. The crack must be bone dry before applying sealant; use a shop vac or leaf blower to speed up drying, and wait several hours or even a full day if needed.
For hairline cracks (thinner than 1/4 inch), you must widen them so the sealant can adhere properly. Use an angle grinder with a Benchmark Abrasives Crack Chaser Diamond Blade to create a channel at least 1/4-inch wide. An inverted ‘V’ shape is ideal as it helps lock the sealant in place.
For cracks wider than 1/4 inch, backer rod is essential. This foam spacer saves money on sealant and ensures the sealant is applied at the correct depth (about 1/2 inch). This depth allows the sealant to flex properly with the concrete.
Choose a backer rod diameter slightly larger than the crack’s width. Using a putty knife, push the rod into the clean, dry crack until it sits about 1/2 inch below the surface. For shallower cracks, you can use sand to achieve the correct depth. A roll of M-D Building Products 20 ft Gray Foam Backer Rod is suitable for most projects.
With the crack prepped, it’s time to fill. Cut the tip of your caulk tube at a 45-degree angle, making the opening slightly smaller than the crack. Load the tube into a quality 10 ounce caulk gun for steady pressure.
Place the tip at one end of the crack and apply a continuous, even bead of sealant, moving at a steady pace. Ensure the sealant makes good contact with both sides of the crack to create a watertight seal. For self-leveling products, you can slightly overfill the crack. For deep cracks, apply the sealant in layers to prevent sagging.
To blend the repair, you must tool the sealant immediately. Use a caulking finishing tool or a gloved finger dipped in soapy water to smooth the bead of sealant in one continuous motion. This removes air bubbles and creates a clean finish.
To match the surrounding concrete texture, lightly sprinkle dry playground sand over the wet sealant and gently pat it down. This simple trick helps the repair blend in seamlessly. If you used painter’s tape for clean edges, remove it before the sealant begins to skin over.
Patience is crucial. Always check the manufacturer’s instructions for specific curing times, as they vary by product and are affected by temperature and humidity.
As a general rule, keep foot traffic off the repair for at least 24 hours and vehicle traffic off for 48 to 72 hours. Driving on uncured sealant will ruin your hard work. Use cones or caution tape to block off the area.
Successful driveway crack repair is not a one-time fix; it’s part of ongoing maintenance. A little proactive care can prevent future damage and keep your driveway in great shape for years.
More info about Paver Driveway Maintenance.
While this guide focuses on concrete, it’s helpful to know the differences in repairing asphalt.
| Feature | Concrete Repair | Asphalt Repair |
|---|---|---|
| Material | Flexible polyurethane sealant (caulk) | Rubberized asphalt emulsion (pourable or caulk tube) |
| Prep | Chisel to create inverted ‘V’ for adhesion; widen with grinder | Widen with grinder; clean thoroughly |
| Finishing | Tool and texture with sand for aesthetic blend | Can be covered with trowel patch for larger areas; smooth with squeegee |
| Sealing | Seal entire driveway every 3-5 years (concrete sealer) | Seal entire driveway every 1-2 years (asphalt sealer) |
Both materials require regular attention, but staying on top of small repairs is always the most cost-effective strategy.
Here are answers to some of the most common questions about fixing cracked driveways.
The best material for most DIY driveway crack repair is a flexible polyurethane-based concrete crack sealant. Concrete naturally expands and contracts with temperature changes. Rigid fillers like mortar or epoxy can’t move with the concrete and will crack again. A flexible sealant moves with the slab, maintaining a durable, watertight seal.
For cracks wider than 1/4 inch, the process requires an extra step. First, clean the crack thoroughly and ensure it is completely dry. Next, insert a foam backer rod into the crack, pushing it about 1/2 inch below the surface. This saves sealant and provides the proper structure for the repair. Finally, apply a flexible concrete sealant, tool it smooth, and add sand for texture.
However, if a crack is very wide, deep, or uneven (with one side higher than the other), it may indicate a structural problem. In these cases, a professional assessment is highly recommended to diagnose the root cause.
Yes, absolutely. Repairing small to medium-sized cracks (up to 1/2 inch wide) is a very manageable DIY project. Success depends on thorough preparation, using the right materials (flexible sealant!), and allowing adequate curing time. A successful DIY repair can save you hundreds or even thousands of dollars compared to hiring a professional.
However, you should call a professional for extensive damage, such as widespread alligator cracking or uneven slabs. These issues often point to deeper problems with the driveway’s sub-base that require expert diagnosis and repair.
Taking on driveway crack repair is a smart investment in your home. By fixing cracks promptly, you prevent water damage, stop small issues from becoming costly replacements, and protect your home’s value. A well-maintained driveway significantly boosts curb appeal.
With professional replacement costing anywhere from $3,000 to $8,000, the time spent on DIY repairs offers a massive return on investment.
While the DIY approach works well for minor cracks, some situations call for professional expertise. If you’re facing extensive damage, uneven slabs, or simply don’t have the time for the project, it’s best to call in the pros. A professional can identify underlying issues and ensure a long-lasting solution.
At Dube Property Maintenance & Hardscaping, we provide comprehensive outdoor solutions for residential and commercial clients in Methuen, MA, and the surrounding communities. Our experienced team handles everything from simple crack repairs to complete driveway replacements and other masonry work with the highest level of professionalism.
If you need an expert assessment of your driveway’s condition or want to discuss professional repair options, we’re here to help.
