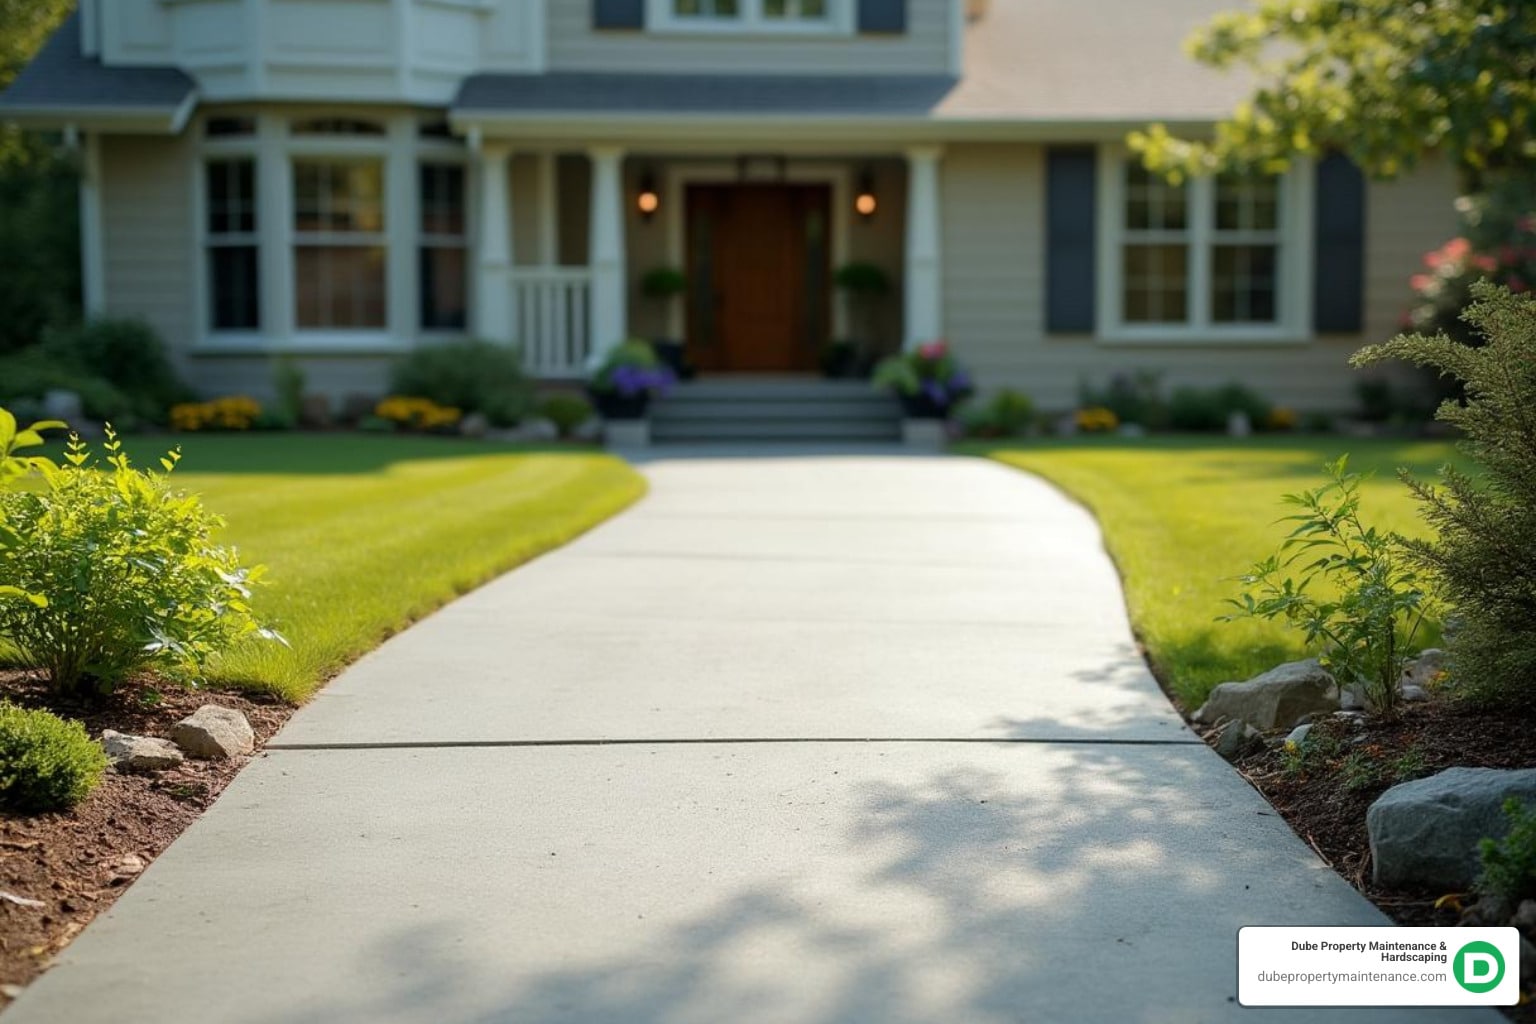


When your concrete driveway has localized damage, like a cracked corner or a spalling section, you don’t always need to tear out the entire surface. Learning how to replace a section of concrete driveway can save you money and extend the life of your existing driveway.
The basic process involves:
A professional can often complete the work in a single day, while a DIY project will likely take a full weekend. The key to a lasting repair is to address the root cause of the damage, such as poor drainage or a weak subgrade.
Partial replacement is significantly cheaper than a full replacement, but be aware that new concrete will not perfectly match the color of the old concrete. For newer driveways with isolated issues, this is an excellent solution. However, for driveways over 30 years old with widespread problems, a full replacement is often the better long-term investment.

How to replace a section of concrete driveway basics:
Deciding whether to repair a section or replace your entire driveway depends on three factors: the extent of the damage, the driveway’s age, and the underlying cause of the problem.
Choose partial replacement when damage is isolated to one or two areas, such as a corner cracked by tree roots. If the rest of your driveway is structurally sound, this is a budget-friendly way to address immediate safety concerns.
Opt for full replacement when damage is widespread, the driveway is over 30 years old, or you’re dealing with extensive subgrade and drainage problems. Constantly patching an old driveway can be costly and results in a mismatched, patchwork appearance. When learning how to replace a section of concrete driveway, it’s important to know that new concrete never perfectly matches the color of old concrete. A full replacement provides a uniform look and a fresh 30+ year lifespan.
Here’s a quick comparison:
| Feature | Partial Replacement | Full Replacement |
|---|---|---|
| Cost | Generally lower upfront | Significantly higher upfront |
| Time | Faster completion (1-2 days plus curing) | Longer project duration |
| Aesthetics | New concrete won’t perfectly match old | Uniform, fresh appearance |
| Longevity | Extends life of specific section only | Entire driveway renewed (30+ years) |
| Structural Integrity | Fixes localized issues | Addresses widespread problems |
| Disruption | Less impact on daily routine | More disruptive access restrictions |
Every driveway is unique. The best choice depends on its age, installation quality, and soil conditions. If you’re unsure, we can provide an honest assessment to help you decide between a targeted repair and a full replacement. For a professional evaluation, request an estimate for your driveway replacement.
Gathering the right tools and materials before you start how to replace a section of concrete driveway will make the project safer and more efficient.

Safety Gear (Non-Negotiable):
Demolition & Preparation Tools:
Finishing Tools:
If this list seems overwhelming, it’s a good indicator that calling in professionals like Dube Property Maintenance & Hardscaping may be the best choice.
This guide details how to replace a section of concrete driveway. It’s a labor-intensive project requiring a full weekend for DIYers, followed by a week of curing. Following these steps carefully is crucial for a long-lasting result.

First, mark clean, straight boundaries around the damaged area with chalk or spray paint, aligning with existing control joints if possible. Use a concrete saw with a diamond blade to cut along the lines to the full depth of the slab (typically 4 inches). These clean cuts prevent damage to the surrounding concrete.
With your perimeter cut, use a sledgehammer to break up the concrete, starting in the center and working outwards. Use a pry bar to lift and remove the pieces. Concrete is extremely heavy, so break it into manageable sizes. For disposal, you’ll need to take the debris to a concrete recycling center or rent a specialized dumpster. For more details, see our Concrete Driveway Removal Guide.
Proper site preparation is the most critical step for a durable driveway. After removing the old concrete, excavate the soil to a depth of 8-10 inches below the final surface height (to accommodate 4-6 inches of gravel and 4 inches of concrete).
Next, compact the subgrade (the soil) using a hand tamper or a rented plate compactor until it is solid. This prevents future settling and cracking. Add a 4-6 inch layer of crushed gravel and compact it thoroughly.
Build your formwork with 2×4 planks, staked securely in place. The top of the forms must be level with the existing driveway surface. Inside the forms, place a grid of rebar spaced 18-24 inches apart. Use rebar chairs to lift the rebar so it sits in the middle of the concrete slab for maximum strength. Our Excavation Services team can handle complex site preparation.
Work quickly and methodically during this stage. If using bagged concrete, mix it to a thick, oatmeal-like consistency. Avoid adding too much water, as this weakens the final product. For larger jobs, ordering ready-mix concrete is a better option.
Pour the concrete into the forms, spreading it evenly to fill all corners and eliminate air pockets. Screed the surface by dragging a straight 2×4 across the top of the forms to level the concrete. After the initial “bleed water” evaporates from the surface, use a bull float or hand float to smooth it.
As the concrete stiffens, use an edger to create clean, rounded edges and a groover to cut control joints. These lines aren’t just decorative; they’re essential for managing the natural expansion and contraction of concrete. For a non-slip finish, gently drag a stiff-bristled broom across the surface. For professional results, consider our Cement Driveway Repair services.
Curing is a chemical process where concrete gains its strength. Do not rush this step.

As soon as the surface is hard enough to touch without leaving a mark, begin the curing process. The goal is to keep the concrete continuously moist for several days. You can do this by covering it with plastic sheeting or by misting it with water multiple times a day. Alternatively, apply a liquid curing compound.
The curing timeline is critical:
Protect the slab from extreme temperatures during this period. You can remove the wooden forms after 24 hours, but continue the curing process for the full 5-7 days to ensure a strong, crack-resistant repair that will last for decades.
Knowing how to replace a section of concrete driveway involves understanding the potential challenges, costs, and long-term implications.
Replacing a concrete section is physically demanding work that requires specialized equipment. While a small patch may be a feasible DIY project, larger jobs or those with underlying subgrade issues are best left to professionals. An experienced contractor can diagnose the root cause of failure and has the right tools to ensure a precise, durable repair. Mistakes in a DIY project can lead to costly fixes, often exceeding the price of hiring a pro from the start. Our Hardscaping Service team has the expertise to get the job done right the first time.
It is nearly impossible to perfectly match new concrete to an old driveway. Color and texture will differ due to factors like sun exposure, weathering, and different cement and aggregate batches. The new patch will be noticeable at first but will weather and blend in over time. Applying a concrete stain or sealer to the entire driveway after the new section has fully cured can help create a more uniform appearance.
Please note: The following figures are national averages based on industry data and do not represent a quote from Dube Property Maintenance & Hardscaping. Costs can vary significantly based on location, project size, and material prices.
Partial replacement can range from $500 to $7,500 or more. The final cost depends on the section’s size, the extent of subgrade work needed, and local labor and material prices. Demolition and disposal alone can be a significant part of the budget. While DIY saves on labor, you must account for tool rental, materials, and the value of your time. For more pricing information, see our guide on the Cost to Remove and Replace Concrete Driveway.
When you replace one section, the rest of your driveway continues to age. If your driveway is over 30 years old, you may find yourself repeatedly repairing different sections. In this scenario, a full replacement is often the more cost-effective long-term investment. It provides a uniform appearance and resets the clock with a 30+ year lifespan. However, for a younger driveway with truly localized damage, partial replacement is an excellent and sensible solution.
Here are answers to common questions about how to replace a section of concrete driveway.
A professional can typically complete the work for a small to medium-sized section in one to two days. However, the new concrete then requires a curing period of 5-7 days before you can drive on it. You can usually walk on it after 24-48 hours.
No, this is strongly discouraged. Pouring a thin layer of new concrete over a damaged base is a temporary fix at best. The cracks from the old slab will quickly transfer to the new surface, a problem known as “reflective cracking.” The underlying issues will remain, and the repair will fail. The old section must be completely removed and the base properly prepared.
Yes, if all steps are performed correctly. The strength of the new section depends on proper subgrade compaction, a stable gravel base, the use of steel reinforcement (rebar), pouring the slab to the correct thickness (at least 4 inches), and allowing it to cure fully. A professionally installed section will be just as strong, if not stronger, than the surrounding concrete.
Responsible disposal is key. Old concrete cannot go in your regular trash. The good news is that most concrete is recycled. It is crushed and reused as aggregate for new concrete or as base material for roads and other construction projects. This practice conserves resources and reduces landfill waste. A professional contractor will manage the disposal according to all local regulations.
Now you understand how to replace a section of concrete driveway, from diagnosis to the final cure. It’s a complex job where proper subgrade preparation, reinforcement, and finishing are critical for a lasting result. One misstep can lead to premature failure.
That’s where professional expertise makes the difference. At Dube Property Maintenance & Hardscaping, we don’t just patch problems; we solve them by addressing the root cause. Our goal is to improve your curb appeal, protect your property value, and deliver a long-term solution.
We proudly serve residential and commercial clients in communities throughout Massachusetts and New Hampshire, including:
Massachusetts: Andover, Billerica, Boxford, Burlington, Chelmsford, Danvers, Dracut, Georgetown, Groveland, Haverhill, Lawrence, Lowell, Lynnfield, Merrimac, Middleton, Newburyport, North Andover, North Reading, Peabody, Reading, Salem, Saugus, Stoneham, Tewksbury, Tyngsborough, Wakefield, Wilmington, Winchester, and Woburn.
New Hampshire: Atkinson, Auburn, Brentwood, Chester, Danville, Derry, East Kingston, Epping, Exeter, Fremont, Hampstead, Kensington, Kingston, Londonderry, New Castle, Newfields, Newington, Newmarket, Newton, Plaistow, Salem, Sandown, Stratham, and Windham.
Ready to get started? Let’s make sure your driveway makes the right impression.
Request an estimate for your driveway replacement and let us transform your damaged driveway into a beautiful, durable surface.