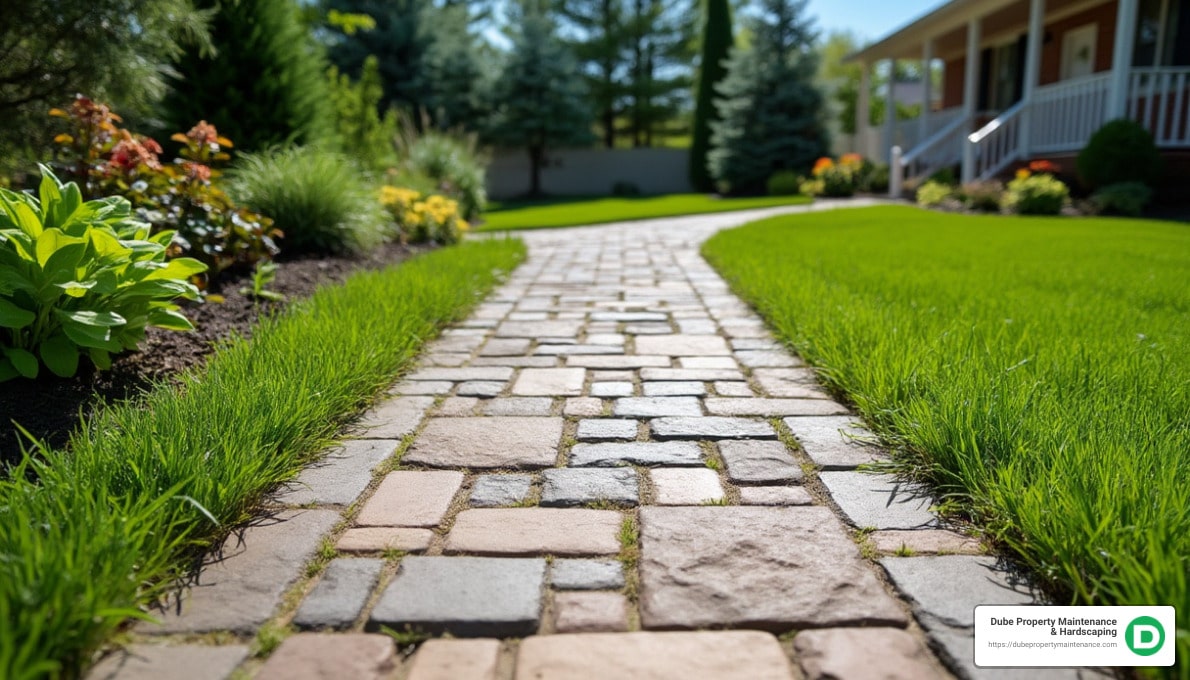
how to install a paver walkway is a question that many homeowners and business owners face when looking to improve their outdoor spaces. A well-designed paver walkway not only adds aesthetic appeal but also increases the functionality of your landscape. Here’s a quick overview of the installation process to get you started:
The importance of proper installation cannot be overstated. Without a solid foundation and meticulous attention to detail, your walkway can quickly become uneven or damaged, especially in areas like Methuen, MA, where harsh winter conditions can be a challenge. A professionally installed walkway by an expert like Dube Property Maintenance & Hardscaping ensures durability and compliments your outdoor space for years to come.
Basic how to install a paver walkway glossary:
– install paver stone walkway
– paver walkway installation
– paver stone walkway ideas
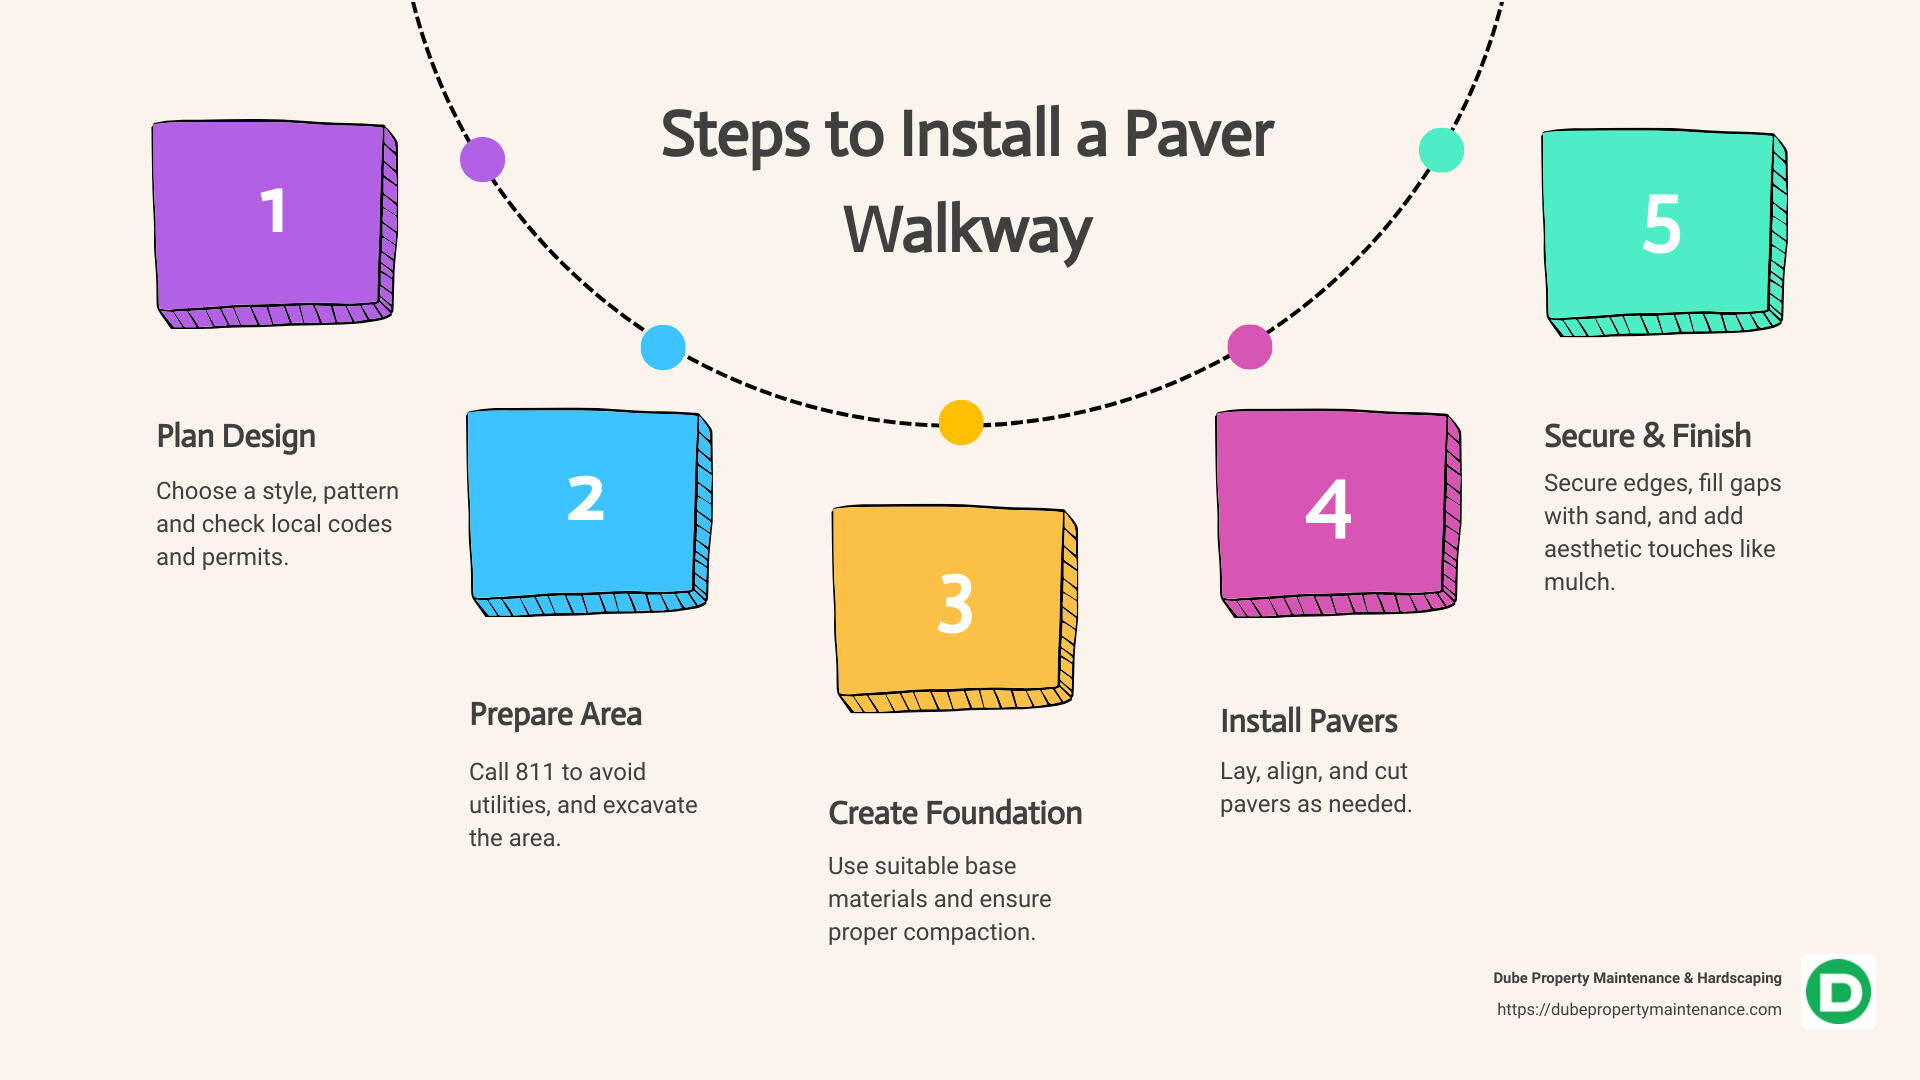
Before you start laying pavers, careful planning is essential. This step sets the stage for a successful project and ensures your walkway will be both beautiful and functional.
Your first decision is the design of your walkway. Consider how the path will integrate with your existing landscape. Do you want a straight, formal path or a winding, natural one? Think about how the walkway will be used—will it be a main thoroughfare or a decorative feature?
Choosing a pattern can dramatically affect the look of your walkway. Basic patterns like jack-on-jack or running bond are simple and require minimal cutting. For a more intricate look, consider herringbone or pinwheel patterns. These require more skill and cutting but add a touch of elegance. If you prefer something unique yet straightforward, stamped pavers that mimic natural stone can offer a sophisticated appearance without complex installation.
Accurate estimation of materials is crucial to avoid shortages or excess. Use a paver calculator to determine the number of pavers needed based on your walkway’s dimensions. Remember to account for extra pavers to cover any cutting or mistakes.
Before purchasing materials or starting work, it’s important to check local building codes and homeowners association rules. Some areas might require a permit for walkway installation. Ignoring these requirements can lead to fines or having to redo work.
Pro Tip: Always call 811 before digging to check for underground utilities. This simple step can prevent costly and dangerous mistakes.
By planning your paver walkway thoughtfully, you’ll set yourself up for a smooth installation process and a stunning final result. With these foundational steps complete, you can move on to preparing the base for your paver walkway.
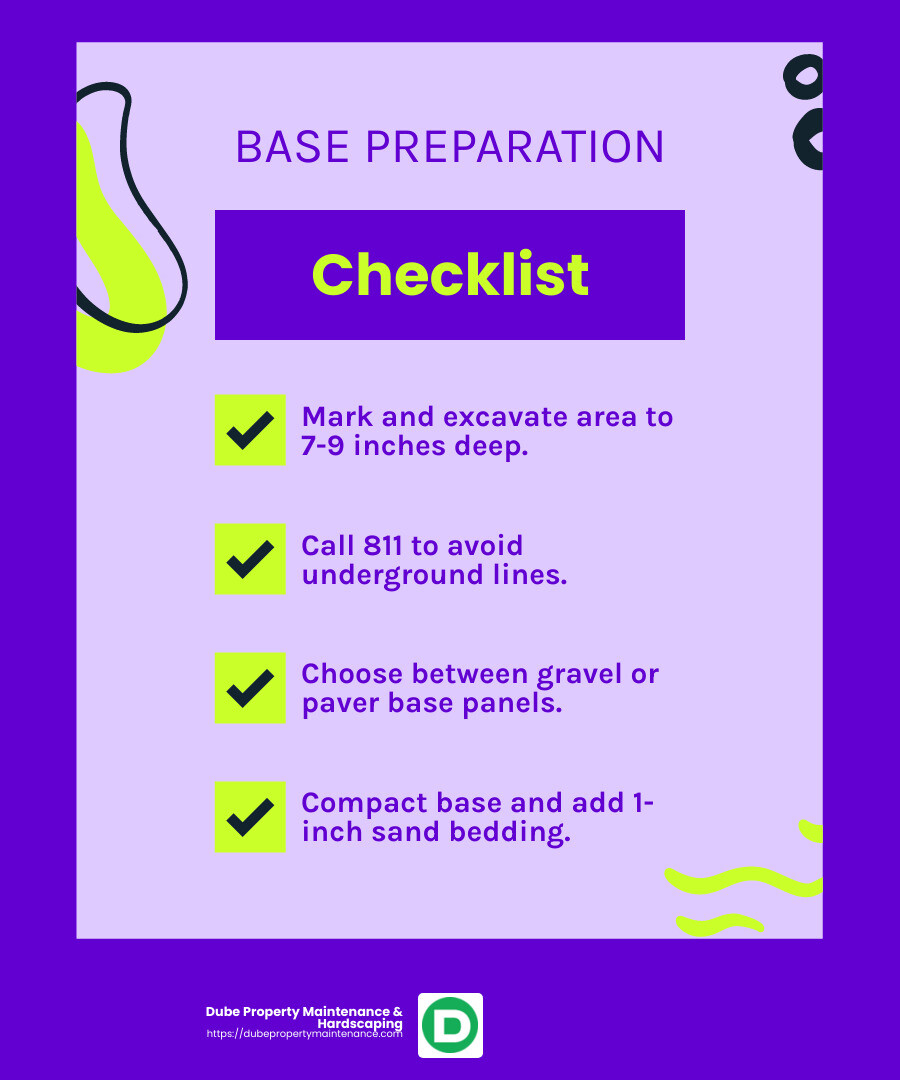
A strong base is the backbone of a durable paver walkway. Let’s explore the essential steps for preparing it right.
Start by marking the area where your walkway will go. Use a shovel to dig out the soil to the required depth. Typically, you want to excavate about 7-9 inches deep to allow space for the base layers and the pavers themselves. Ensure the area is level and smooth.
Tip: Keep the soil you remove in a separate pile; you might need some of it later for landscaping or to level out uneven spots.
Before you dig, it’s crucial to call 811. This free service will connect you with local utilities to mark any underground lines. It’s not just a precaution—it’s a must to avoid hitting water, gas, or electric lines, which could be dangerous and costly.
The base is what gives your walkway stability. You have two main options: gravel or paver base panels.
Whether you choose gravel or panels, compaction is key. Use a plate compactor to compact the gravel. This will prevent shifting and settling over time. If you’re using base panels, ensure they are laid flat and securely.
Pro Tip: Lightly spray the gravel with water before compacting to reduce dust and help the gravel settle more firmly.
After compacting the base, add a 1-inch layer of coarse sand. This provides a smooth surface for laying the pavers. Use a straight edge or screed board to level the sand. For an even layer, lay down two parallel PVC pipes as guides and screed the sand over them. Remove the pipes carefully afterwards.
With a well-prepared base, you’re ready to move on to laying the pavers, ensuring a stable and long-lasting walkway.
Now that your base is ready, it’s time to lay the pavers. This step is crucial to ensure a stable and visually appealing walkway.
Laying Pavers
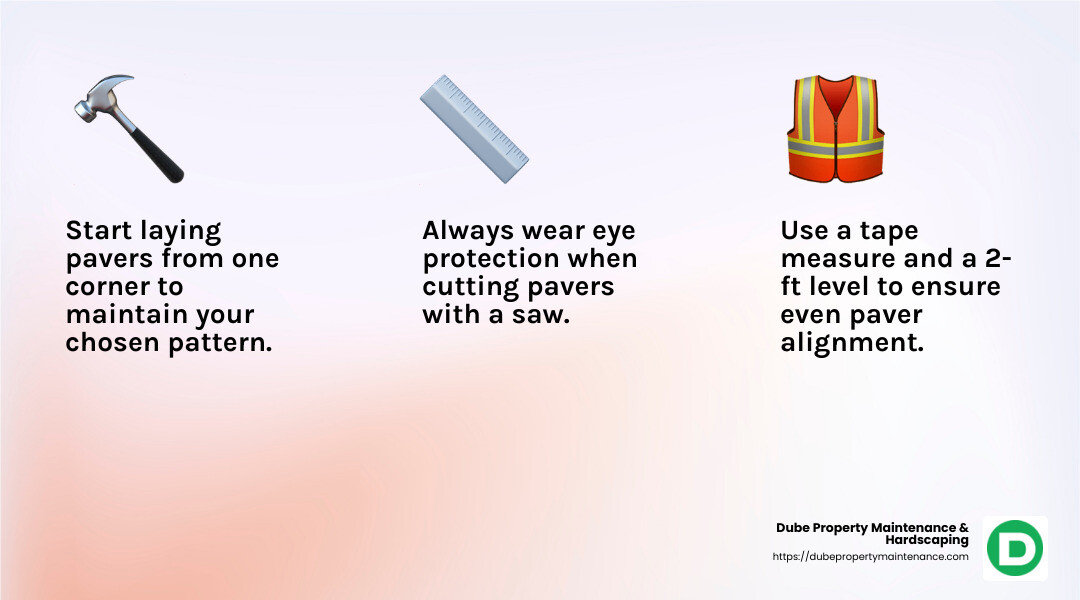
Start from one corner and lay your pavers in your chosen pattern. Whether you prefer a simple running bond or a more intricate herringbone, keep the pattern consistent. Use a tape measure to ensure even spacing.
Aligning Pavers
As you lay each paver, use a 2-ft level to check that they’re even. Adjust by adding or removing sand as needed. This ensures your walkway is level and safe to walk on.
Cutting Pavers
Not all areas will fit full pavers. Use a circular saw with a concrete blade or a wet/tile saw to cut pavers to the desired size. Always wear eye protection and a dust mask when cutting.
Using Paver Base Panels
If you opted for paver base panels, place the pavers directly on top. This simplifies the process as the panels provide a stable foundation.
Placement Techniques
Gently tap each paver into place with a rubber mallet. Ensure they fit snugly together, leaving minimal gaps. This helps them interlock, adding stability.
Interlocking Tips
For extra stability, consider using interlocking pavers. These are designed to fit together tightly, reducing movement over time.
Securing the edges of your walkway is essential to prevent the pavers from shifting out of place.
Edging Stones
Use edging stones along the sides of your walkway. These not only improve the look but also keep the pavers in place. Place them tightly against the outer pavers.
Paver Edging
Install paver edging made from plastic or metal. Secure it with spikes driven into the ground. This invisible barrier holds everything together, ensuring your walkway remains intact over time.
With your pavers laid and edges secured, your walkway is taking shape beautifully. Next, we’ll focus on finishing touches to improve its durability and appearance.
Once your pavers are securely in place, it’s time to focus on the finishing touches that will complete your walkway.
Jointing Sand Application
Begin by applying jointing sand. This sand fills the gaps between pavers, locking them in place and preventing weeds. Simply spread the sand over the walkway and use a broom to sweep it into the joints. Repeat the process until all gaps are filled.
For added strength and durability, consider using polymeric sand. This special type of sand hardens when wet, creating a strong bond between pavers. After sweeping it into the joints, lightly mist the surface with a garden hose. This activates the polymers, helping to secure the pavers.
Sealing Pavers
To protect your walkway from stains and weather damage, apply a sealer. This not only improves the color of the pavers but also extends their lifespan. Use a roller or sprayer to apply an even coat, and allow it to dry completely.
Mulching
Improve the borders of your walkway with mulch. It creates a neat separation between the path and your yard, adding a natural touch. Choose a mulch color that complements your pavers for a cohesive look.
Garden Beds
Consider adding garden beds along the sides of your walkway. These can be filled with colorful flowers or lush greenery, offering a vibrant contrast to the stone. Garden beds also help to define the path and make it more inviting.
Landscape Lighting
Finally, install landscape lighting to illuminate your walkway. This not only improves safety at night but also highlights the beauty of your new path. Opt for solar-powered lights for an eco-friendly and cost-effective solution.
With these finishing touches, your paver walkway will not only be functional but also a stunning feature in your landscape. Up next, we’ll address some common questions about installing a paver walkway.
Under a paver walkway, a solid foundation is crucial for durability and stability. Begin with a 6-inch layer of gravel paver base. This provides excellent drainage and support. On top of the gravel, add a 1-inch layer of sand. This sand layer helps level the pavers and allows for slight adjustments during installation. Alternatively, you can use interlocking paver base panels. These panels are lightweight and only require a 1/2 inch of sand underneath. They simplify the process and reduce the amount of digging required.
No, laying pavers directly on the ground is not recommended. Without a proper base, pavers can shift and settle unevenly over time. This can lead to an unstable and unsightly walkway. A well-prepared base with gravel and sand ensures that your pavers remain level and secure for years to come.
The depth of your excavation depends on the base materials you choose. Generally, you’ll need to dig about 7 to 8 inches deep. This depth accommodates a 6-inch gravel base and a 1-inch sand layer. If you’re using paver base panels, you might only need to dig about 4 to 5 inches deep. Always ensure the base is well-compacted before laying the pavers to prevent future settling.
By following these guidelines, you’ll create a stable and attractive paver walkway that improves your outdoor space.
Congratulations on completing your paver walkway! To ensure your new addition remains beautiful and functional for years, here are some simple maintenance tips.
Regular Cleaning: Sweep your walkway regularly to remove debris. Use a leaf blower or broom to keep the surface clear. For a deeper clean, use a garden hose or pressure washer, taking care not to disturb the jointing sand.
Jointing Sand Maintenance: Over time, jointing sand may wash away or settle. Keep extra sand on hand to refill joints as needed. This helps maintain stability and prevents weed growth.
Weed and Moss Control: Occasionally, weeds or moss might appear between the pavers. Use a natural weed killer or a mixture of vinegar and water to treat these areas. Regular maintenance will help keep your walkway looking pristine.
Sealant Application: Consider applying a sealant to protect your pavers from stains and weathering. A good sealant improves color and provides a protective layer against the elements.
Repair and Replacement: Inspect your walkway periodically for any damaged or uneven pavers. It’s easier to replace a single paver than to repair a larger section later. Keep a few extra pavers from your initial installation for quick replacements.
At Dube Property Maintenance & Hardscaping, we pride ourselves on delivering high-quality, comprehensive outdoor solutions. Our professional team is here to help you with all your landscape installation and hardscaping needs. Whether you’re planning a new project or need assistance with maintenance, we’re just a call away.
For more information on our services or to discuss your next project, visit our walkway installation page. Let us help you create the outdoor space of your dreams!