How to install a curved paver walkway can transform your outdoor space into a beautiful and inviting path. If you’re eager to tackle this project, here’s a quick overview to get you started:
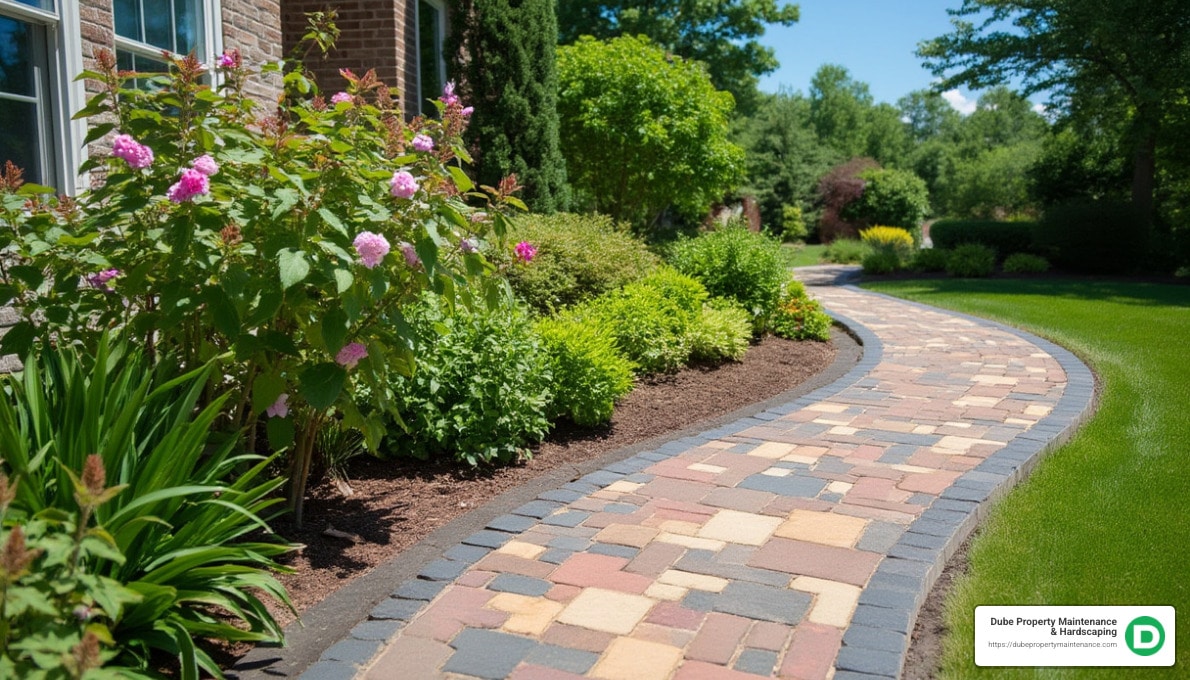
A curved paver walkway is not just a path; it’s a statement piece in your landscape. Unlike straight paths, curved walkways weave through your garden with elegance and interest. These walkways naturally complement the contours of your landscape, guiding guests on a journey and creating a sense of flow. By choosing to build one yourself, you can tailor-fit the look and functionality to your space while gaining the satisfaction of a DIY project. From selecting modular pavers to deciding on a captivating pattern, each step in creating a curved paver walkway merges practicality with style.
Ready to dive into the basics before getting your hands dirty? Let’s explore how you can expertly craft this stunning feature with ease.

Common how to install a curved paver walkway vocab:
– install paver stone walkway
– paver walkway installation
– paver stone walkway ideas
Before you lay the first paver, preparing the base is crucial for a long-lasting and stable curved walkway. This foundation supports the entire structure, ensuring your efforts stand the test of time. Here’s a simple guide to help you get started:
First, outline your walkway using a flexible garden hose or rope. This helps visualize the curve and make necessary adjustments. Once satisfied, use spray paint to mark the path.
Next, set the grade to ensure proper drainage. A slight slope, about 1-2% away from structures, is ideal. This prevents water from pooling on the path, which can cause damage over time.
Start by excavating the marked area. Dig down about 7-9 inches to accommodate the base layers and pavers. Remove any large stones, roots, or debris. This ensures a clean slate for building a solid foundation.
Now, it’s time to lay the road base. Use crushed stone or gravel, filling the excavated area with a 4-6 inch layer. This material provides stability and drainage, crucial for preventing future settling or shifting.
Once the road base is in place, it’s time to compact. Use a mechanical compactor to press down the gravel. This step is essential for increasing the density of the soil, providing a firm support for your pavers.

A well-prepared base is the backbone of your project. By taking these steps seriously, you set the stage for a successful installation of your curved paver walkway. Now, let’s move on to screeding the sand bed to create a smooth surface for laying pavers.
Once you’ve prepared the base, it’s time to move on to the exciting part: installing your pavers. This section will guide you through screeding the sand bed, laying the pavers, and choosing the right pattern for a curved walkway.
After compacting the road base, the next step is to create a smooth sand bed. Spread a 1-inch layer of coarse sand evenly over the compacted base. Use a screed board to level the sand, ensuring a consistent surface. Starting from the highest point and working downhill can make this process easier. Remember to fill any voids left by footprints or tools with fresh sand and smooth them out.
With your sand bed ready, it’s time to lay the pavers. Begin from a square corner if possible. This provides a stable starting point, especially if your project has a foundation or a clear boundary. Use the click-and-drop method to place each paver. This technique helps avoid disturbing the sand bed, ensuring a level and stable surface.
Selecting the right pattern is crucial for both aesthetics and functionality. Two popular patterns for curved walkways are:
Curves add elegance to your walkway but require precise marking and cutting. Here’s how:
By following these steps, you can confidently lay a curved paver walkway that not only looks great but also stands the test of time. Next, we’ll explore how to place border stones and install edge restraints to complete your project.
Now that your pavers are laid out beautifully, it’s time to finish off your curved walkway with border stones and edge restraints. These elements are crucial for keeping your pavers in place and giving your walkway a polished look.
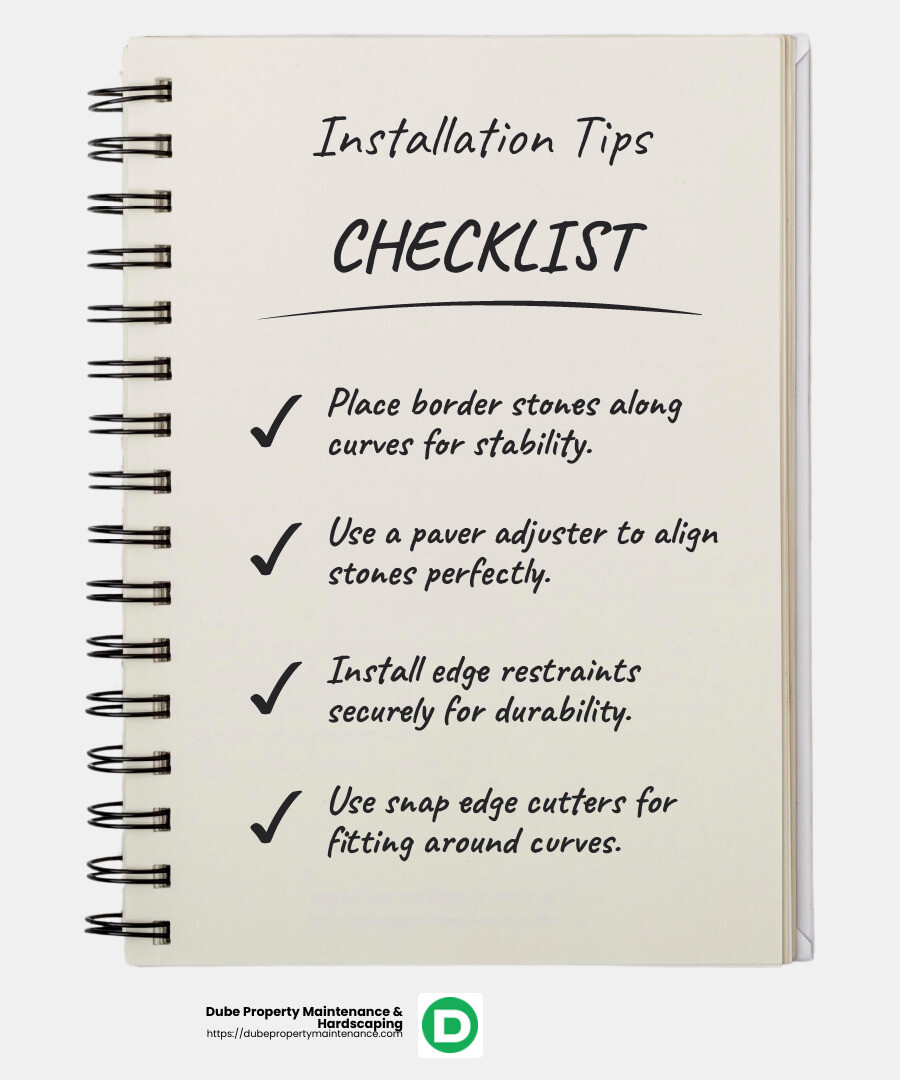
Border stones act as the frame for your walkway, defining its edges and adding stability. Here’s how to place them effectively:
Edge restraints are vital for maintaining the integrity of your walkway. They prevent the pavers from shifting over time, especially under heavy foot traffic.
With your border stones and edge restraints in place, your curved paver walkway is now secure and ready for the final touches. In the next section, we’ll discuss how to finish your project with joint sand and compacting for a lasting, beautiful result.
Now that your curved paver walkway is secure with border stones and edge restraints, it’s time to add the final touches. These steps will ensure your walkway is not only beautiful but also durable.
Filling the Gaps
Joint sand is essential for locking pavers together and preventing weeds from growing between them.
Setting the Sand and Pavers
Compacting the sand and pavers is crucial for a stable walkway. It helps the sand settle into the joints and ensures the pavers are firmly set.
Perfecting the Walkway
Before you celebrate your hard work, make a few last checks to ensure everything is perfect.
With these finishing touches, your curved paver walkway is complete and ready to be enjoyed. In the next section, we’ll answer some frequently asked questions to help you maintain and appreciate your new walkway.
Laying a curved paver path is a rewarding DIY project that improves the beauty of any outdoor space. Start with base preparation. Excavate the area to about 7-9 inches deep and remove large stones or roots. Compact the subsoil to prevent future shifting.
Next, lay a geotextile fabric to prevent weeds. Add 4-6 inches of crushed stone or gravel and compact it. For the final layer, spread 1 inch of coarse sand and use a screed board to level it. This creates a stable base for the pavers.
When laying the stones, use the click-and-drop method. This helps maintain the sand bed’s integrity, ensuring a smooth surface. Begin from the inside edge of the curve and work outward to keep pavers aligned.
Choosing the right pattern is crucial for both aesthetics and functionality. The Running Bond pattern is a popular choice for curved paths. It involves laying pavers in a staggered manner, which minimizes the need for cutting and allows for natural adjustments along the curve.
The Herringbone pattern is another excellent option. It creates a V-shaped, zigzag formation that is both durable and visually appealing. The 45-degree angle offers a dynamic look, while the 90-degree angle provides a stable, traditional appearance.
Each pattern has its benefits, but the Running Bond is often favored for its simplicity and ease of installation on curves.
Creating curves with pavers involves precise marking and cutting. Use a PVC conduit to mark the desired curve. This ensures a consistent and gradual curve. A paver marker or crayon can be used to outline the curve on the pavers.
For cutting, you’ll need a demo saw or masonry saw. These tools help make clean cuts along the marked lines. When cutting, remember the advice from professional hardscapers: “Always keep the factory side out, cut side in.” This keeps the visible edges clean and professional-looking.
Once cut, arrange the pavers to form the curve, and secure them with edge restraints to maintain the shape.
At Dube Property Maintenance & Hardscaping, we understand that installing a curved paver walkway is more than just a construction project—it’s about enhancing the aesthetics and functionality of your outdoor space. Our team of professionals is dedicated to delivering high-quality, custom solutions that transform your vision into reality.
With our expert installation services, you can rest assured that every detail is handled with precision. From selecting the perfect paver pattern to ensuring a sturdy base, we take care of the entire process. Our commitment to quality means you get a walkway that not only looks stunning but also stands the test of time.
Whether you’re looking to create a welcoming path to your home or improve your garden’s appeal, our curved paver walkways provide the perfect solution. We offer comprehensive services across a wide range of locations, ensuring that your project receives the attention and expertise it deserves.
Ready to lift your outdoor space with a beautifully crafted walkway? Contact us today for a free walkway installation estimate, and let’s create a path that complements your landscape and lifestyle.