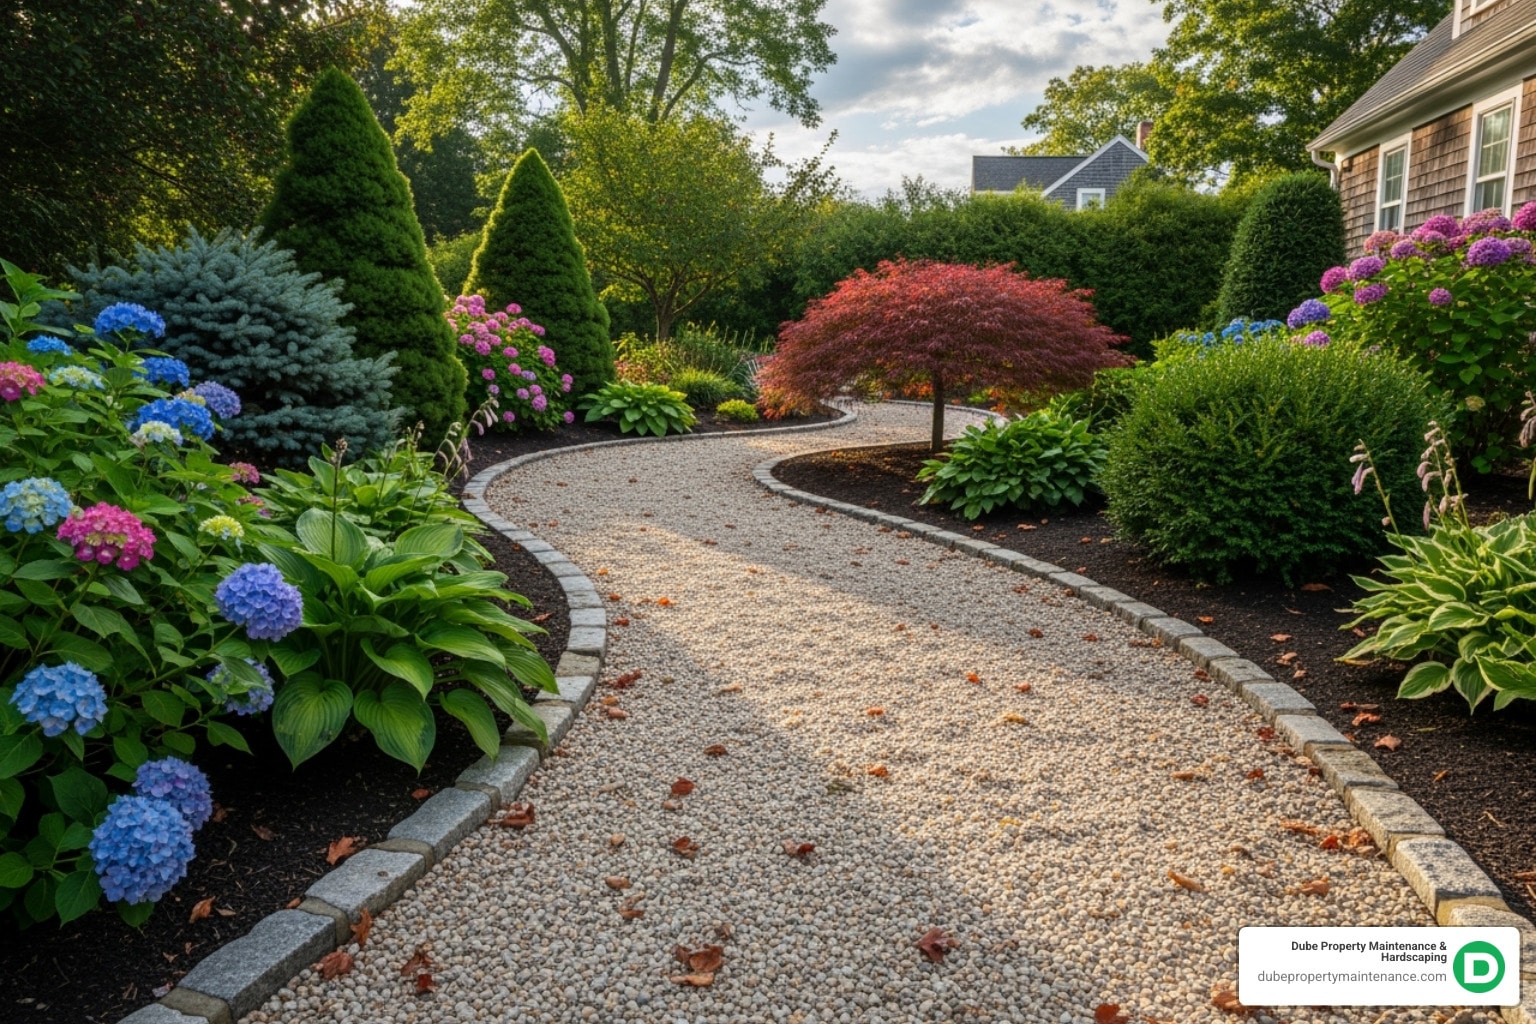
A gravel pathway is an affordable, versatile, and eco-friendly solution for creating beautiful walkways that can handle New England’s challenging weather. The satisfying crunch of gravel underfoot welcomes guests, and as one homeowner noted, “A gravel path made a HUGE difference in curb appeal” for their property.
Quick Build Guide:
Gravel pathways shine because they are:
Whether connecting your driveway to your front door or creating a rustic garden trail, gravel offers best flexibility in design and budget. This guide covers everything from choosing the right gravel to proper installation, ensuring your pathway remains stable and attractive for years.

A well-designed gravel pathway offers a charming and flexible hardscaping option. Its aesthetic versatility is remarkable, fitting both formal gardens with clean lines of crushed stone and rustic landscapes with earth-toned pea gravel. The wide range of colors and textures allows your path to evolve with your landscape.
Cost-effectiveness is a major draw. A gravel pathway is a great DIY project, saving you significant labor costs. You’re primarily paying for materials, not professional installation.
Beyond savings, the permeability of gravel offers key environmental benefits. It allows rainwater to soak into the ground, which reduces water runoff, prevents erosion, and supports natural groundwater recharge. This makes it a sustainable choice.
In New England, the durability and flexibility in freeze-thaw climates are crucial. While concrete cracks and pavers heave, gravel shifts and settles without damage, meaning fewer repairs.
| Feature | Gravel Pathway | Pavers | Concrete |
|---|---|---|---|
| Average Cost | $2 – $15 per sq. ft. | $10 – $30+ per sq. ft. | $6 – $15+ per sq. ft. |
| DIY-Friendliness | High (achievable weekend project) | Moderate (requires precision & tools) | Low (often requires professional pouring) |
| Maintenance Level | Low-Moderate (raking, occasional weeding) | Low (sweeping, joint sand refill) | Low (sweeping, crack repair) |
| Design Flexibility | High (curves, organic shapes, natural look) | High (patterns, colors, defined lines) | Moderate (stamped/stained options) |
Average material costs for gravel range from $30 to $150 per ton or cubic yard. Edging costs vary from a few dollars per linear foot for plastic to $20+ for stone. Landscape fabric cost is modest, around $0.20 to $0.50 per square foot, but vital for weed control.
Pricing disclaimer: These figures are average costs based on internet data, not actual quotes from Dube Property Maintenance & Hardscaping. A complete gravel pathway project can range from $2 to $15 per square foot, but premium materials and complex designs can increase the cost. Local availability and project complexity also influence the final price.
For more on hardscaping costs, see The Ultimate Guide to Understanding Hardscaping Services.
Gravel is a low-impact material often available from local sourcing, reducing its environmental footprint. Its permeability makes it an eco-friendly choice for water management.
Maintenance needs are straightforward. Occasional raking keeps the surface level, while weed control is usually limited to pulling a few strays. You may need to top off the gravel every few years to maintain depth and refresh its look. For snow removal, use a plastic-blade shovel or let light snow pack down to avoid scattering the gravel. This is a small trade-off for a path that won’t crack in winter.
Proper planning is the secret to a beautiful, long-lasting gravel pathway. Before starting, measure your space, calculate material needs, and gather your tools. Walk the intended route to ensure it flows with your landscape, whether it’s a gentle curve or a straight line.
For help integrating hardscaping elements into your landscape, consider our Landscape Design and Hardscape Design services.

The gravel you choose affects both the look and function of your gravel pathway. Here are some popular options:
For most projects, we recommend 3/8-inch to 3/4-inch angular crushed stone for the best balance of stability and comfort.
Gathering your supplies beforehand makes for a smooth project. You will need:
A gravel pathway offers incredible design flexibility.
Installing a gravel pathway is a satisfying DIY project. The secret to a long-lasting path is a solid foundation. Skipping preparation leads to ruts, weeds, and migrating gravel. Follow these steps for a path you’ll enjoy for years.

First, outline your pathway using a garden hose or spray paint. A width of 3 to 4 feet is standard for comfortable walking. Next, excavate the entire area to a depth of 4 to 6 inches. This allows room for a base layer and the top gravel. Remove all sod, soil, and roots with a shovel and wheelbarrow. Finally, use a steel rake to create a level, smooth sub-grade. This prevents settling and uneven surfaces later.
A compacted base is the backbone of your gravel pathway, providing stability and drainage. Spread 2 to 4 inches of crushed stone base material (“crusher run” or “road base”). Lightly dampen the stone and compact it with a hand tamper or plate compactor until it’s rock-solid.
Next, install your edging to contain the gravel. It should sit at least 1/2 inch higher than the final gravel surface. Options include crisp metal edging, flexible budget-friendly plastic edging, or rustic wood edging secured with exterior screws. Natural stone or brick offers a decorative border. Secure your chosen edging firmly around the perimeter.
Landscape fabric is your insurance against weeds and prevents gravel from mixing with the soil. Unroll the fabric over the compacted base, extending it slightly up the sides of the edging. If using multiple pieces, overlap the seams by 4 to 6 inches to block weeds. For aggressive weeds, consider a double layer. The weight of the gravel will hold the fabric in place.
To calculate your gravel needs, use the formula: Length (ft) × Width (ft) × Depth (ft) = Cubic Feet. Divide by 27 for cubic yards. Many suppliers have online calculators.
Spread a 2-inch deep top layer of your chosen decorative gravel evenly over the fabric. If adding stepping stones, place them now and ensure they are stable. Rake the gravel smooth, keeping it about 1/2 inch below the top of the edging. A light spray from a garden hose will settle the dust and help compact the gravel.
A well-installed gravel pathway is low-maintenance, but routine care keeps it looking its best through New England’s seasons. A few minutes of attention every month or two is usually all that’s needed. See examples of well-maintained paths in our Gravel and Stepping Stone Walkway gallery.
Simple tasks will keep your path in top shape:
For high-traffic areas or improved stability, consider these options:
For climates with heavy rain or freeze-thaw cycles, a robust, well-compacted base and interlocking angular gravel are essential for longevity. These advanced techniques can reduce long-term maintenance and improve usability.
Here are answers to the most common questions about planning a gravel pathway.
A gravel pathway should have a total depth of 4 to 6 inches. This consists of a 2 to 4-inch compacted base layer of crushed stone for stability and drainage, followed by a 2-inch top layer of decorative gravel over landscape fabric. This layered system is crucial for a durable, low-maintenance path.
The best gravel depends on your priorities. For maximum stability, choose angular crushed stone (3/8-inch to 3/4-inch), as the pieces lock together. For a softer feel, pea gravel is comfortable but tends to shift more and requires more raking. Most homeowners prefer angular crushed stone for its balance of stability and appearance.
Effective weed control for a gravel pathway involves a multi-step approach:

A gravel pathway offers compelling advantages: affordability, design versatility, and environmental permeability. Its high DIY potential makes it an achievable and satisfying project for many homeowners.
However, long-term success depends entirely on proper installation. A well-built foundation with adequate excavation, a compacted base, quality landscape fabric, and solid edging is essential. Skipping these steps will lead to a maintenance headache of shifting gravel, weeds, and an uneven surface.
If you prefer professional results without the weekend labor, Dube Property Maintenance & Hardscaping can help. We have built countless gravel pathways throughout Methuen, MA, and surrounding communities in Massachusetts and New Hampshire, including Andover, Billerica, Boxford, Burlington, Chelmsford, Danvers, Dracut, and Georgetown.
Our team understands local soil, drainage, and climate challenges, ensuring your path is beautiful and durable. We handle everything from design to cleanup, delivering a path that performs well through New England’s tough weather.
For a professionally installed, durable, and beautiful gravel path that improves your property, consider our expert Hardscaping Services. We’re ready to turn your vision into reality.